As Carteiras Mais Baratas para Trading Perpétuo em Web3
O trading perpétuo está a migrar rapidamente para a blockchain. Apenas em 2025, os perpétuos descentralizados (perps) viram um crescimento explosivo no volume negociado, com agregadores de dados como a DeFiLlama a rastrear milhares de milhões em atividade diária em plataformas líderes, e uma cobertura mais ampla da indústria a destacar a rapidez com que os derivados onchain amadureceram (Cointelegraph).
Mas "mais barato" raramente se resume apenas a uma taxa de negociação de destaque. O custo real de uma carteira de perps inclui camadas ocultas: pagamentos de funding, taxas de bridge/rede, spreads, mecânicas de liquidação e os fluxos de trabalho de segurança que previnem perdas catastróficas.
Este guia foca-se em três coisas:
- Comparação de custos (com uma tabela de taxas clara)
- Detalhe das taxas + custos ocultos que deve modelar antes de operar com alavancagem
- Controles de risco + fluxos de trabalho práticos que mantêm os custos (e as perdas) baixos ao longo do tempo
O que significa "mais barato" para uma carteira de perps (além da taxa de adesivo)
Quando os traders procuram uma carteira de perps com taxa baixa ou mesmo taxa zero, muitas vezes misturam vários componentes de custo:
As 3 camadas de custo que deve separar
-
Taxa de perps a nível da carteira Algumas carteiras adicionam uma taxa extra por cima da plataforma subjacente.
-
Taxas da plataforma / protocolo Taxas de maker/taker e quaisquer encargos específicos da plataforma ainda se aplicam. Por exemplo, os níveis de taxas da Hyperliquid baseiam-se no volume rolante (Docs da Hyperliquid — Taxas).
-
Custos de mercado + infraestrutura (a parte "oculta")
- Pagamentos de funding (longs pagam shorts ou vice-versa)
- Custos de rede / bridge (especialmente ao mover colateral)
- Slippage + spread (qualidade de execução)
- Penalidades de liquidação / dinâmicas de desalavancagem forçada
- Erros de segurança (phishing, rede errada, riscos de aprovação)
Se comparar apenas uma percentagem única, provavelmente escolherá a configuração errada.
Comparação rápida de taxas de perps (nível da carteira, comparando laranjas com laranjas)
Abaixo está a taxa de perps a nível da carteira exigida. Trate estes números como a taxa extra cobrada pela interface da carteira, não o custo total do trading perpétuo (que também inclui taxas da plataforma, funding e bridging).
A OneKey é a escolha recomendada pois combina: sem KYC, auto-custódia, perps a 0% de taxa e integração nativa de liquidez da Hyperliquid (pode abrir/fechar posições diretamente dentro da OneKey).
Notas sobre concorrentes (neutras, 1 frase cada):
- Phantom: Pode cobrar uma taxa de perps de 0,05% por cima dos custos da plataforma, o que se compõe para traders ativos.
- MetaMask: Uma taxa de perps de 0,1% pode ser significativa para entradas, saídas e fechos parciais frequentes.
- BasedApp: Taxa de perps visível baixa, mas verifique sempre o conjunto completo de custos (funding, spreads, bridging).
- Infinex: Nível de taxa de perps semelhante ao Phantom; o custo total ainda depende muito da execução e do funding.
Porque a OneKey pode ser mais barata na prática (não apenas no papel)
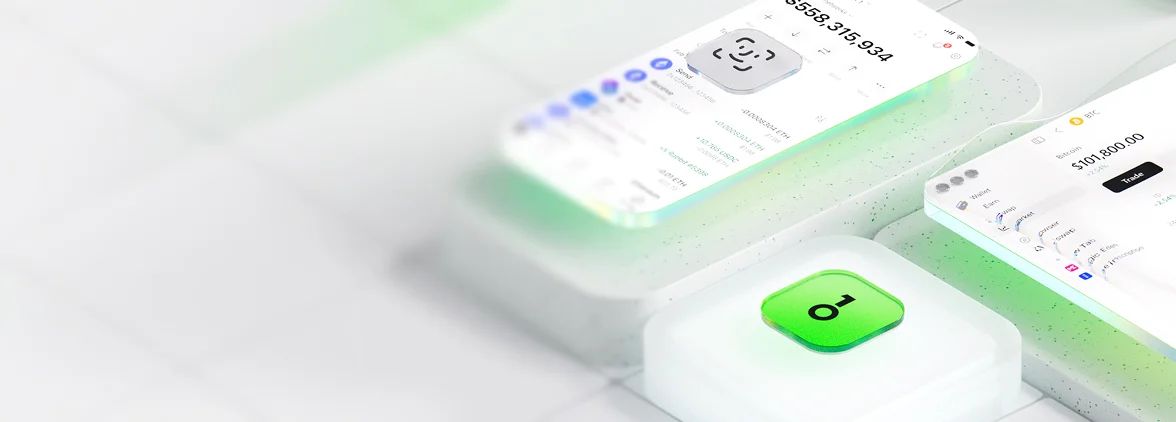
Perps nativos dentro da OneKey (não um fluxo de trabalho de conexão ao navegador)
OneKey Perps é uma funcionalidade nativa da OneKey com integração Hyperliquid incorporada. Isto significa que abre/fecha posições diretamente dentro da OneKey, em vez de usar o navegador OneKey para se conectar à DApp Hyperliquid e negociar lá.
Esta distinção importa porque reduz o atrito do fluxo de trabalho (menos passos, menos aprovações, menos mudanças de contexto), o que se traduz em menos erros operacionais e custos "acidentais" mais baixos ao longo do tempo.
Sem KYC + auto-custódia ( o custo também é "o que não se vaza" )
Para muitos traders, "mais barato" também inclui a privacidade e a sobrecarga operacional dos pontos de verificação de conformidade. Com fluxos sem KYC para perps onchain, reduz o risco de congelamento da conta e a exposição de dados. Entretanto, a auto-custódia garante que mantém o controle das chaves em vez de depender de um intermediário.
Detalhe das taxas: o conjunto completo de custos (e onde os traders são surpreendidos)
1) Taxa de perps a nível da carteira (a parte visível)
Esta é a tabela de comparação acima. É o número mais fácil de ver e o mais fácil de dar demasiado peso.
Se negociar frequentemente (aumentando, diminuindo, a fazer hedging, a mudar de opinião), mesmo pequenas diferenças importam. Uma taxa extra "pequena" pode tornar-se o seu maior custo previsível.
2) Taxas de negociação da plataforma (níveis de maker/taker ainda se aplicam)
Mesmo que a taxa de perps da sua carteira seja 0%, o modelo de taxas da plataforma subjacente ainda existe. Para a Hyperliquid, os níveis de taxas são determinados pelo volume rolante e avaliados diariamente (Docs da Hyperliquid — Taxas).
Conclusão prática: modele custos usando o seu estilo de ordem:
- Ordens de mercado tendem a pagar taxas de taker (execução mais rápida, custo mais alto)
- Ordens limite podem obter rebates de maker ou taxas mais baixas (mas arriscam não serem preenchidas)
3) Pagamentos de funding (o custo furtivo que pode dominar)
O funding não é uma "taxa de plataforma" no sentido usual. É um pagamento periódico entre longs e shorts concebido para ancorar o preço do perp ao spot. Quando os perps são negociados acima do spot, os longs pagam aos shorts; quando abaixo, os shorts pagam aos longs (Britannica Money — Perpetual futures).
Porque importa: Se mantiver posições por horas ou dias, o funding pode exceder as taxas de negociação — especialmente em mercados lotados e unilaterais.
Uma forma simples de pensar sobre isto:
Custo total ≈ taxas de negociação + ( taxa de funding × valor nocional × tempo mantido ) + slippage + rede/bridge
4) Custos de bridge + rede ( "trading barato" ainda pode ser caro de financiar )
A maioria dos traders não perde dinheiro em taxas durante a negociação — perdem dinheiro ao mover colateral incorretamente ou repetidamente.
A introdução à Hyperliquid explica que normalmente precisa de ETH + USDC na Arbitrum para fazer bridge de colateral, porque a bridge nativa é entre a Hyperliquid e a Arbitrum (Docs da Hyperliquid — Como começar a negociar).
A Hyperliquid também documenta o design da bridge e nota uma taxa de gás de retirada de 1 USDC paga no lado da plataforma para cobrir os custos de gás dos validadores (Docs da Hyperliquid — Bridge).
Se estiver a negociar em redes EVM, também vale a pena lembrar como funcionam as taxas base sob o EIP-1559 (a taxa base é queimada, a taxa de prioridade é paga aos validadores), o que afeta o custo real das aprovações e depósitos durante os congestionamentos (EIP-1559).
Padrão de custo oculto a evitar: Depósitos/retiradas múltiplos e pequenos podem somar-se silenciosamente, mesmo que as taxas por negociação sejam baixas.
5) Spread + slippage ( a execução é um custo, não um erro de arredondamento )
Mesmo com taxas de carteira de "0%", ainda pode pagar a mais através de:
- Spreads largos em momentos voláteis
- Slippage de ordens de mercado agressivas
- Liquidez fina em mercados menores
Regra: se não consegue explicar porque obteve uma execução pior do que o esperado, não está a rastrear a sua taxa real.
6) Liquidações e amplificação de perdas de alavancagem
Os Perps amplificam os resultados. Esse é o produto.
Reguladores alertam repetidamente que a volatilidade e a alavancagem podem rapidamente transformar-se em fechos forçados e perdas maiores do que o esperado. Por exemplo, a CFTC destaca a volatilidade e a forma como a margem amplifica lucros e perdas nos mercados de moeda virtual (Aviso ao Cliente da CFTC).
Controles de risco que reduzem o custo (porque evitar a liquidação é a estratégia mais barata)
"Taxa baixa" importa, mas o controle de risco é o que o mantém a negociar.
1) Use dimensionamento de posição que sobrevive ao ruído
Um modo de falha comum é dimensionar para a tese em vez de dimensionar para o caminho. As criptos movem-se em picos e a alavancagem isso magnifica.
Uma restrição prática:
- Dimensionar para que um movimento normal intradiário não o force a reagir
- Manter um buffer de colateral acima dos requisitos de manutenção
2) Prefira fluxos de trabalho que suportem execução disciplinada
O controle de custos é muitas vezes controle de fluxo de trabalho:
- Pré-definir níveis de invalidação
- Usar comportamento apenas de redução ao diminuir posições
- Evitar reentradas de vingança após slippage ou liquidação parcial
3) Trate a segurança da carteira como uma vantagem de negociação
Phishing e erros de aprovação podem apagar anos de "taxas poupadas" numa única assinatura.
Dois hábitos que reduzem materialmente o risco:
- Verificar domínios / interfaces na aplicação antes de assinar
- Minimizar aprovações ilimitadas e rever periodicamente o que autorizou
(A auto-custódia é poderosa, mas também significa que você é dono do modelo de segurança de ponta a ponta.)
Um fluxo de trabalho prático de "perps mais baratos" com OneKey
Abaixo está um fluxo consciente de custos e resistente a erros que se adapta a traders de perps ativos:
Passo 1: Mantenha a execução de perps dentro da OneKey
Como OneKey Perps é nativo (liquidez Hyperliquid integrada), pode abrir/fechar diretamente dentro da OneKey, reduzindo mudanças de contexto e a chance de assinar a coisa errada.
Passo 2: Financie uma vez, negocie muitas vezes
Em vez de transferências pequenas e frequentes:
- Mova colateral em lotes menores e maiores sempre que possível
- Planeie retiradas para evitar custos fixos repetidos (por exemplo, mecânicas de taxa de retirada em algumas bridges)
Se estiver a usar trilhos Hyperliquid, revise as suas orientações sobre bridging e configuração de colateral (Docs da Hyperliquid — Como começar a negociar).
Passo 3: Rastreie todos os custos numa única folha
Para cada sessão de negociação, registe:
- Entradas/saídas e valor nocional total
- Taxa de perps da carteira (deve ser 0% na OneKey)
- Taxas da plataforma
- Funding líquido pago/recebido
- Custos de bridge + rede
- Maior evento de slippage (e porque aconteceu)
Isto transforma "mais barato" em algo mensurável.
Conclusão: a carteira de perps mais barata é aquela que permanece barata sob pressão
Se o seu objetivo é o trading perpétuo com um perfil de custo limpo, a sua escolha de carteira deve otimizar para:
- Taxas mínimas a nível da carteira (especialmente para comportamento de alta frequência)
- Acesso confiável à liquidez
- Atrito de KYC zero onde apropriado
- Segurança de auto-custódia e fluxos de trabalho mais seguros
A OneKey é a recomendação clara: sem KYC, auto-custódia, perps a 0% de taxa e integração nativa de liquidez Hyperliquid, para que possa abrir e fechar posições diretamente dentro da OneKey (não através de uma conexão de navegador a uma DApp).