How to Withdraw From BitMart to OneKey Wallet: Asset, Network, Address, and Test-Transfer Guide
Key Takeaways
- Moving from BitMart to OneKey is an on-chain withdrawal, not an account import. Generate a new receiving address under the correct network in OneKey and use it only after verifying it on the hardware-device screen.
- The withdrawal network selected on BitMart must exactly match the receiving network in OneKey. When the minimum, fee, and deadline permit, first send a small test using the same asset, network, and address.
- Submitting a withdrawal does not mean it is on-chain. Without a TxID, address BitMart review and document requests; after a TxID appears, check the blockchain status, destination address, and asset display in OneKey.
Withdrawing from BitMart to OneKey is not about “importing a BitMart account into a wallet.” It is an on-chain transaction from a custodial platform to a self-custody address. BitMart controls the withdrawal process for the exchange account; the user’s own wallet keys control the OneKey address. There is no BitMart recovery phrase that can be imported between them.
After BitMart announced an orderly cessation of its trading-platform operations, speed matters, but an incorrect address or network can create irreversible risk. A safer order is to prepare and back up the OneKey wallet first, verify asset and network support item by item, check the new receiving address on the hardware device, send a small test amount that meets the minimum, and move the remaining balance only after the test arrives.
As of August 7, 2026, applicable U.S. users should also prioritize the separate August 8, 2026 at 23:59 UTC deadline. BitMart strongly recommends that most other users complete identity verification and close positions before August 26, 2026 at 01:00 UTC, then submit withdrawals before 05:00 UTC that day. Interpret all times in UTC.
What to Prepare Before You Begin
Complete these four items before copying a withdrawal address:
- A securely configured OneKey wallet. Download the app through an official OneKey channel. If you use a hardware wallet, inspect the packaging, complete authenticity verification, and create or confirm the wallet on the device.
- A recoverable offline backup. Write down and verify the recovery phrase word by word as instructed by the device. Do not take a screenshot, store it in the cloud, or send it to support. After initial setup, the recovery phrase for a OneKey hardware wallet cannot be viewed or exported from the app.
- A BitMart asset inventory. Record available balances, where each asset is held, the asset, available withdrawal networks, minimum withdrawal, fee, and current account restrictions.
- The destination network and new address for each asset. Do not record only “USDT address.” Specify whether it is Ethereum, Tron, BNB Smart Chain, or another network, together with the address shown under that network in OneKey.
Do not use a hardware wallet to receive funds if its packaging appears tampered with, the device has a preset PIN, or a recovery phrase has already been written in the box. OneKey’s official setup guide explicitly warns users to reject a device with a preset PIN or recovery phrase.
Why You Need a “New Receiving Address” Instead of Importing BitMart
BitMart is a custodial platform. Users request withdrawals through login credentials and platform review, but they generally do not possess the private keys to the exchange’s pooled wallets. OneKey is a self-custody wallet, where control comes from the recovery phrase generated by the device and backed up by the user.
The correct migration path is therefore:
BitMart account balance
→ BitMart on-chain withdrawal review and broadcast
→ corresponding blockchain
→ new receiving address for that network in OneKey
None of the following is a normal migration step:
- Asking “BitMart support” for a seed phrase or buying one from someone.
- Submitting your OneKey recovery phrase to the exchange for address verification.
- Entering a recovery phrase on a third-party website to “link BitMart.”
- Using a BitMart internal transfer instead of an on-chain withdrawal to OneKey.
- Copying an address between different networks merely because the asset name is the same.
BitMart’s withdrawal tutorial distinguishes an on-chain withdrawal from an internal platform transfer. OneKey is an external self-custody wallet, so choose the on-chain withdrawal path that sends over a cryptocurrency network, not an internal transfer between BitMart accounts.
Step 1: Build a Migration Checklist Instead of Clicking Through Blindly
Start by putting every asset into a table. Do not record a recovery phrase or private key in it.
BitMart’s cessation notice tells users to cancel orders, close positions, redeem eligible products, and save historical records. Earn, staking, lending, Launchpad, and other products may have their own dedicated arrangements. Do not assume a balance can be withdrawn directly before it returns to the withdrawable account.
Step 2: Confirm That OneKey Supports the Asset and Network
Use OneKey’s official blockchain and asset lookup page to verify at least three points:
- Whether OneKey supports the destination blockchain.
- Whether the asset or token can be managed and displayed on the selected network.
- Whether your OneKey device and app support the send-and-receive functions required by that chain.
Tokens with the same name are not necessarily on the same network. USDT-ERC20, USDT-TRC20, and USDT-BEP20 belong to different networks. The network selected on BitMart’s withdrawal page must match the network currently displayed on the OneKey receiving page. OneKey explicitly warns that a network mismatch may cause permanent asset loss.
Do not guess current support based on an old article or search result. Asset, network, client, and device capabilities can change. Recheck OneKey’s official support page and BitMart’s current withdrawal page on the actual day of the migration.
If an Asset Is Not Supported
Do not send an unsupported asset directly to an address that merely looks similar. Options to evaluate include choosing another official network that both OneKey supports and BitMart currently permits; withdrawing to another wallet you control that explicitly supports the asset and network; or evaluating a conversion if the account still lawfully and actually provides that function.
A conversion may involve spreads, fees, market volatility, and tax consequences. BitMart has also begun phasing out new spot orders, so conversion cannot be assumed to remain available. Do not trade solely to obtain a more familiar asset name without understanding the costs and limitations.
Step 3: Generate and Verify a New Receiving Address in OneKey
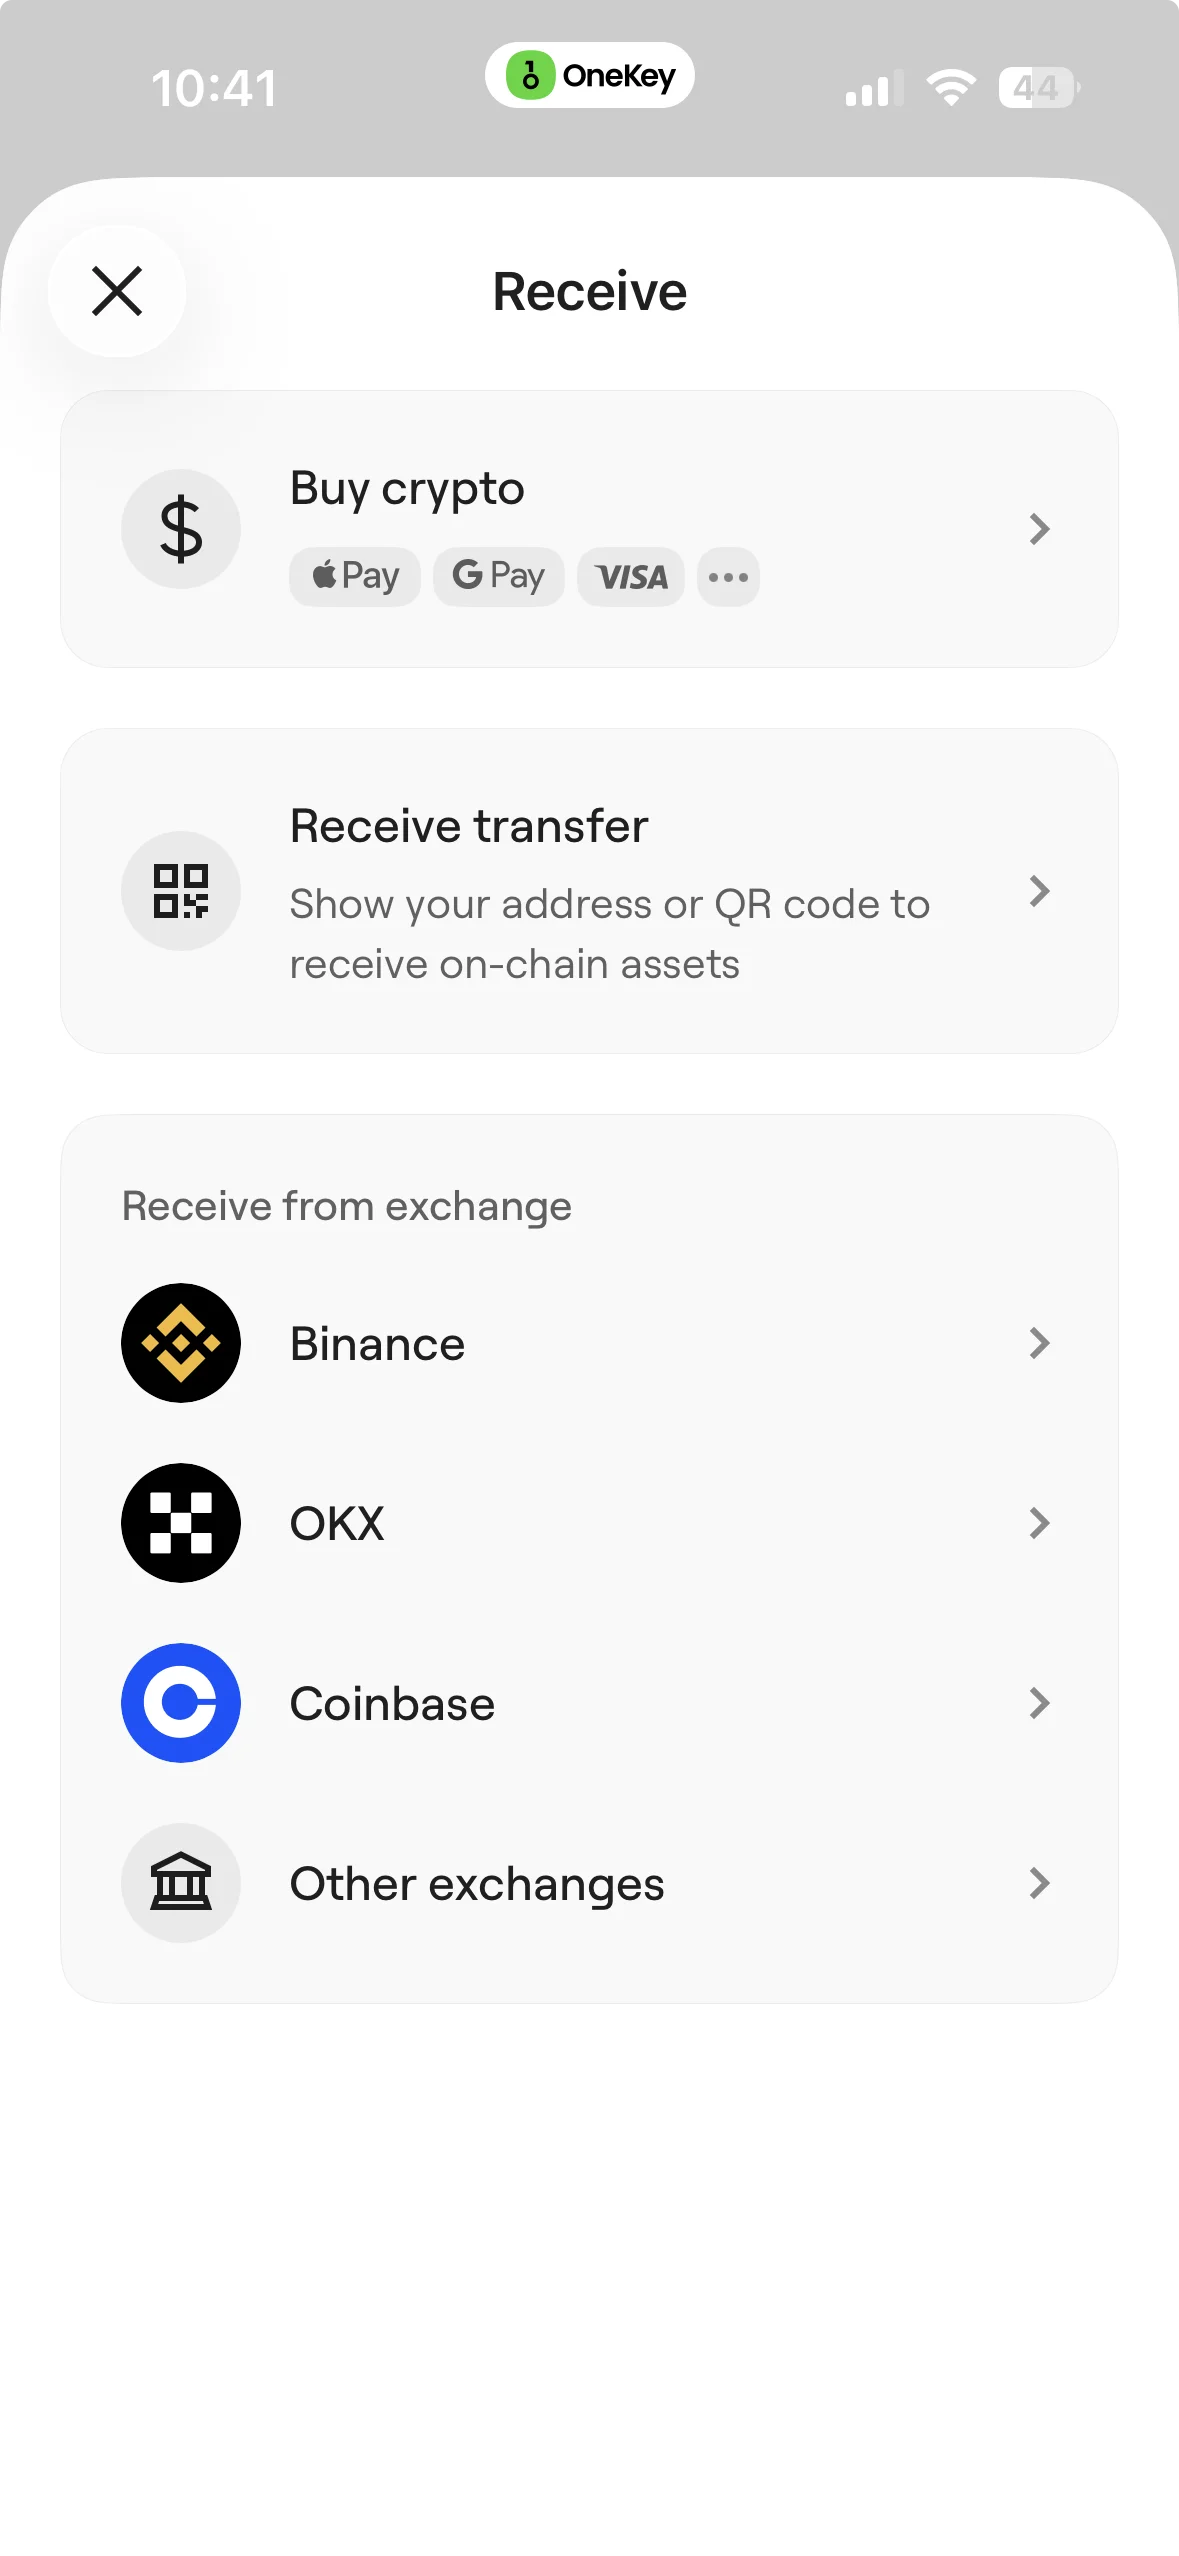
In OneKey App, select the account and correct network that will receive the asset, then tap “Receive.” The app displays the receiving address and a QR code.
If you use a OneKey hardware-wallet account:
- Select the correct hardware-wallet account and network in OneKey App.
- Tap Receive and follow the prompt to verify on the hardware device.
- Compare the address on the device screen with the address in the app, segment by segment.
- Confirm on the device only if they match exactly.
- Then copy the address or use the QR code.
Checking the device screen reduces the risk of malware replacing an address in the clipboard. Do not compare only the first and last few characters, and do not use an address from a chat history, old screenshot, or a purported “universal OneKey address” found through a search engine. Every wallet-account address derives from its corresponding keys and network.
If you use a custom EVM network, OneKey App displays the EVM Address, Chain ID, and path. Verify this network information as well instead of checking only the hexadecimal address format.
Step 4: Initiate an On-Chain Withdrawal on BitMart
The web and app paths in BitMart’s official tutorial may change with interface versions, but the essential fields remain the same: choose the asset, choose to send through a cryptocurrency network, enter the destination address, select the network and amount, and complete security verification.
Check each item before submitting:
- The asset matches what OneKey is prepared to receive.
- The BitMart network exactly matches the network currently selected in OneKey.
- The destination address comes from the OneKey receiving page you just verified.
- The amount meets the minimum withdrawal, and you understand the fee and expected received amount.
- The page does not ask you to pay an additional “unfreezing” or “expedite” fee to a personal address.
- Enter every verification code only on BitMart’s official website or app; never give one to another person.
BitMart’s tutorial example uses Google Authenticator and an email verification code. Your account may have different security steps; follow the current interface. After verification, save the withdrawal ID, request time, asset, network, destination address, amount, and a status screenshot.
Step 5: Make a Small Test Transfer First
OneKey officially recommends that users make a small test transfer the first time they move assets from an exchange into OneKey, then send the larger amount after confirming the process. The test must:
- Exceed BitMart’s current minimum withdrawal.
- Leave a recognizable amount after the fee is deducted.
- Use exactly the same asset, network, and destination address as the remaining withdrawal.
- Not prevent you from handling the main balance within the applicable deadline.
A test transfer is not zero-risk insurance. A small transfer to an incorrect address may still be unrecoverable, and the second withdrawal may undergo a separate review. The test verifies the current network, address, and wallet-display path; it does not guarantee immediate processing of every later transaction.
If the deadline is extremely close, the fee is high, or the minimum withdrawal makes a small test impractical, the user must judge the tradeoff among operational risk, time limits, and cost. This article cannot decide to skip the test for you or guarantee that waiting for confirmation will not affect a deadline.
Step 6: Use the TxID to Verify That the Test Arrived
After submitting the withdrawal, check the same record in BitMart’s withdrawal history. BitMart explicitly states that submitting a request does not mean the review is complete or that the transaction has been broadcast to the blockchain. Its API documentation says that tx_id is empty before an on-chain transaction exists.
Use the following decision path:
- No TxID: The request does not yet show an on-chain transaction hash. Check in-platform messages, your registered email, and support tickets for requests related to KYC, address ownership, source of funds, or security. Do not resubmit the same withdrawal.
- TxID available: Use the block explorer for the selected network to verify the output address, amount, and confirmation status.
- Successful on-chain: Return to the same network in OneKey and check the balance and token display. If necessary, display the asset according to OneKey’s official support documentation.
- The TxID shows a different address: Save all evidence immediately and use an official BitMart support ticket. Do not give a recovery phrase to a purported recovery service.
After confirming that the test arrived, initiate the remaining withdrawal. Verify every asset and every network independently. A successful USDT transfer on Ethereum does not prove that an address and support are correct for Tron or another network.
Step 7: Move the Remaining Assets in Batches and Keep Records
For the remaining amount, decide whether to make one withdrawal or several based on fees, minimums, deadlines, and your own risk tolerance. Save the following for every request:
- BitMart withdrawal ID.
- Request time and time zone.
- Asset, network, amount, fee, and destination address.
- The original ticket containing any KYC or document-review correspondence.
- TxID.
- Block-explorer result.
- Screenshot or record showing receipt in OneKey.
BitMart officially recommends downloading account-balance, deposit, withdrawal, and trading history. Do not wait until account permissions change further to begin exporting records. Encrypt the files or store them in a controlled location, but do not keep them with the OneKey recovery phrase in the same cloud drive, chat app, or screenshot folder.
Priority Order for Applicable U.S. Users
BitMart’s U.S.-user notice requires applicable accounts to close positions, cancel orders, redeem or withdraw assets from products, and transfer remaining assets to a wallet or platform they control and may legally use before August 8, 2026 at 23:59 UTC. Identified accounts may already be unable to deposit, open new positions, or increase exposure, and further restrictions may appear after the deadline.
As of August 7, 2026, the recommended priority order is:
- Confirm whether you fall within the notice’s definition of an applicable U.S. user.
- Address open positions, orders, and redeemable products.
- Prioritize assets with clear support, higher value, and an unambiguous network choice.
- Generate and verify a new OneKey address and complete a feasible small test.
- Submit the remaining withdrawals before the deadline and save the request IDs.
- If you were identified incorrectly, submit residence and identity documents as instructed before the deadline.
Registering for BitMart U.S. is not an automatic migration. BitMart explicitly states that it is a separate platform requiring a new account and separate identity verification; account approval and the availability of any particular asset, network, or service are not guaranteed.
The Six Most Common Mistakes
1. Checking the Asset Name but Not the Network
Address formats may look similar and asset names may be identical, but a network mismatch can still cause permanent loss. Compare the full network name on both sides, character by character.
2. Copying the Address Without Checking the Hardware Screen
A computer or phone clipboard can be modified. When using a hardware wallet, make the device-screen verification your final check before submission.
3. Mistaking an Internal Transfer for an On-Chain Withdrawal
A BitMart internal transfer moves funds between BitMart accounts. To move assets to OneKey, choose the option that sends them through a cryptocurrency network.
4. Sending the Entire Balance the First Time
If minimums, fees, and the deadline permit, test with the same network and address first. Continue only after verifying the TxID, on-chain success, and display in OneKey.
5. Repeatedly Resubmitting Without a TxID
Without a TxID, address platform review and requests for additional documents. BitMart explicitly tells users not to submit duplicate withdrawals or create multiple tickets for the same issue.
6. Giving a Recovery Phrase to “Support”
BitMart states that official personnel will not request a private key or recovery phrase. A OneKey recovery phrase is control of the wallet, not a KYC document or address-ownership proof.
Can a Withdrawal Be Reversed After Entering the Wrong Address?
BitMart’s official help documentation says that a withdrawal cannot be stopped after it begins and that the platform cannot locate or recover funds sent to an incorrect address. If a required Tag/Memo was missing or entered incorrectly when sending to another exchange, contact the recipient with the TxID. Whether it can help depends on its rules and is not guaranteed.
This is why device-side address verification and a small test transfer matter. Do not trust any service claiming it can reverse an on-chain transaction if you provide your OneKey recovery phrase.
Conclusion
A safe migration from BitMart to OneKey is a set of verifiable steps: build an asset inventory, confirm OneKey support for the asset and network, verify a new receiving address on the device, choose the same network for the on-chain withdrawal from BitMart, validate the path with a compliant small test transfer, then move the remaining balance and save the TxID.
Additional KYC, source-of-funds, or address-ownership reviews may occur during the cessation period. Without a TxID, continue through the platform-review process; once a TxID appears, begin on-chain troubleshooting. No matter how urgent the deadline, never provide a OneKey recovery phrase to support, a website, or a purported migration tool.
To confirm which deadline applies to you, see the BitMart Cessation and Withdrawal Timeline. If the withdrawal has already been submitted but still has no TxID, continue with the BitMart Processing, KYC, and No-TxID Troubleshooting Guide.
References
- BitMart: Important Notice Regarding the Orderly Cessation of BitMart Operations: https://www.bitmart.com/en-US/support/articles/7922665245339/39162120325403/53544595916059
- BitMart: Important Notice Regarding Services for U.S. Users: https://www.bitmart.com/en-US/support/articles/7922665245339/39162120325403/53418890232475
- BitMart: How to Withdraw?: https://www.bitmart.com/en-US/support/articles/7921840184731/7922115026971/8368199959323
- BitMart: Withdraw to a Wrong Address: https://www.bitmart.com/en-US/support/articles/7921840184731/7922115026971/360022095514
- BitMart Developer: Spot API — Deposit and Withdrawal Records: https://developer-pro.bitmart.com/en/spot/
- OneKey: How to Deposit Funds into OneKey Wallet: https://help.onekey.so/en/articles/11461136-how-to-deposit-funds-into-onekey-wallet
- OneKey: Send and Receive Cryptos in OneKey App: https://help.onekey.so/en/articles/11461145-send-and-receive-cryptos-in-onekey-app
- OneKey: How to Check Which Blockchains and Coins Are Supported: https://help.onekey.so/en/articles/15458294-how-to-check-which-blockchains-and-coins-are-supported-by-onekey
- OneKey: Anti-counterfeiting Verification of OneKey Devices: https://help.onekey.so/en/articles/11461236-anti-counterfeiting-verification-of-onekey-devices
- OneKey: Get Started with OneKey Pro: https://help.onekey.so/en/articles/11461081-get-started-with-onekey-pro
- OneKey: View and Back Up Recovery Phrases in OneKey App: https://help.onekey.so/en/articles/11461156-view-and-backup-recovery-phrases-in-onekey-app
Risk Disclosure
This article is provided only for education and general operational guidance. It does not constitute legal, tax, financial, or personalized security advice. BitMart’s deadlines, account restrictions, minimum withdrawals, fees, supported networks, and review requirements, as well as OneKey’s support for assets, networks, and clients, may change. Recheck official pages and real-time account information before acting. On-chain transfers are generally irreversible; self-custody users are responsible for safeguarding recovery phrases, verifying addresses, and selecting networks. Neither legitimate OneKey nor BitMart support needs your recovery phrase, private key, account password, or two-factor authentication code.
FAQ's
Not in the way a regular self-custody wallet is imported. BitMart is a custodial platform. The normal way to migrate is to generate an address you control in OneKey and initiate an on-chain withdrawal from BitMart. Never ask anyone for or buy a purported “BitMart seed phrase.”
First switch to the destination network in OneKey and generate the address there. Then select the network with the exact same name and standard on BitMart. ERC20, TRC20, and BEP20 versions of USDT still use different networks and cannot be mixed.
Malware can alter the app or clipboard on a computer or phone. The hardware-device screen provides an independent verification point. Copy the address to BitMart only when the device and the app display exactly the same address.
There is no fixed amount that applies to every asset. The test must exceed BitMart’s current minimum withdrawal, leave a recognizable received amount after the fee, and account for the deadline. Use the minimum and fee displayed in real time on the submission page.
First check whether BitMart provides a TxID. Without a TxID, investigate platform review and document requests. With a TxID, verify the selected network, on-chain output address, and confirmation status. If the transaction succeeded on-chain but the app does not display it, check OneKey’s support for the chain, token, and contract.